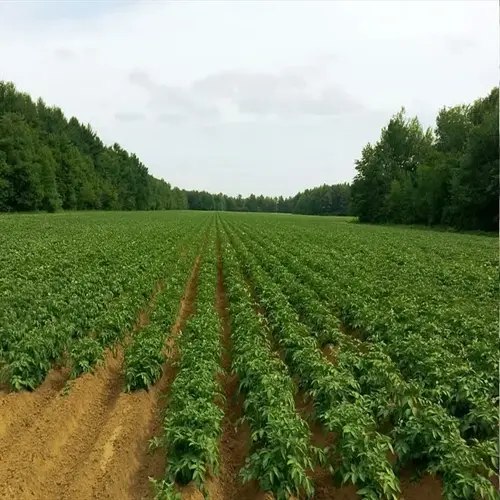

Perfect radishes start with soil. This vegetable likes a loose, light soil; heavy clay and rocky patches are not suitable. Prepare the beds 6 to 12 inches deep, according to the kind to be cultivated. I dig into my garden each spring, a good coat of old compost, it is the best manner of encouragement for the little tap roots.
Proper planting technique guarantees speedy germination. Plant the seeds ½ inch deep, in rows 6 inches apart, and lightly cover with soil. Water with a fine spray; when thoroughly wet, expect to see sprouts in 3 to 5 days at the most, during cool weather. The summer sort should be 1 inch apart when the earth is ridged up, but the winter type will require more room to begin with.
Consistent moisture prevents bitterness and cracking. Water your seedlings every day until established. Mature plants need an inch of water weekly. When in doubt about whether to water, plunge your finger into the soil: if the top inch or so feels dry, water deeply. I have a little patch of breakfast radishes that I irrigate every morning. Cavity containers dry out quickly during a heatwave, and need watering every day.
Thin seedlings. To ensure your radishes have fat, plump roots, thin them to 2 inches (50 cm) apart, or 4-6 inches (10-15cm) apart for winter varieties, when they are about 2 inches tall. This is best done with scissors to minimize disturbance to the surrounding roots. You can use your seedlings' thinnings in salads or soups, making microgreens a great option for utilizing them. So, there's no need to skip this step!
Soil Management
- Test pH: Maintain 6.0-7.0 range for optimal growth
- Amend annually: Add 2 inches compost before planting
- Avoid compaction: Never step on planting beds
- Container mix: Blend potting soil with perlite and compost
Pest Control
- Row covers: Install immediately after planting
- Companion plants: Grow with nasturtiums or mint
- Daily inspection: Check for flea beetle damage
- Organic sprays: Use neem oil only as last resort
Harvest Timing
- Summer types: Pull at 1 inch diameter
- Winter varieties: Harvest before hard frost
- Morning harvest: Roots are crispest after dawn
- Continuous picking: Gather pods daily when formed
Succession planting allows you to keep your harvests going. One or two weeks apart, depending on the crop. In cool seasons, this is especially true. This technique works beautifully with fast-maturing summer types. I plant radish rows between slower-maturing crops, such as carrots. The radishes are all harvested by the time the others need the space. Try this one early in the spring, and again in late summer.
Correcting problems avoids crop failures. Cracked roots are often caused by irregular watering. A woody texture indicates over-maturity. The fact that some plants are all tops and no roots arises from being overcrowded. If the plants bolt, it is too warm for them. To achieve good-quality radishes, correct any mistakes immediately. Most diseases associated with radishes can be prevented by maintaining good health.
Read the full article: How to Grow Radishes: Foolproof Guide