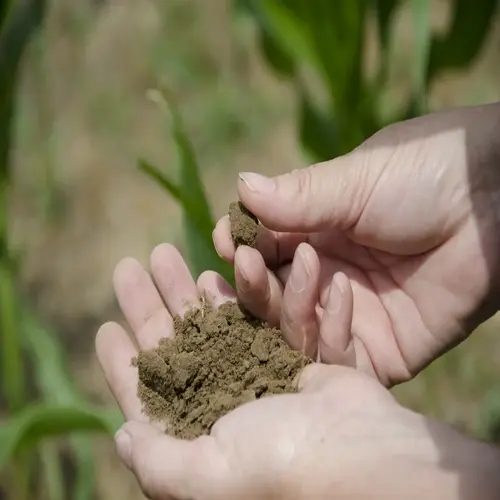
Proper soil sampling sets the stage for test accuracy. A soil sample collection procedure is put in place for a reason - to avoid sample contamination and erroneous results. The right tools and methods are necessary if you want to gather reliable data. Trust the fate of your plants to data that is accurate and trustworthy.
Sampling depth will differ by plant type. For lawn grasses, sample at 4-5 inches, where the roots feed. Vegetable beds should be 6-8 inches. Fruit trees should be sampled at 10 inches from the drip line. Always match depth to root zones that are pertinent to provide nutrient data.
Contamination Prevention
- Use plastic buckets instead of metal containers
- Wipe tools with alcohol between samples
- Remove roots and debris immediately
Composite Technique
- Collect 10-15 subsamples per area
- Follow zigzag pattern across planting bed
- Mix thoroughly in clean container
Special Situations
- Problem areas: Sample separately
- New beds: Test before planting
- Container soil: Sample entire pot
Composite sampling accounts for soil variability. Collect multiple subsamples throughout each area. Blend thoroughly in a plastic bucket. This blends organic matter and nutrient values. Please do not rely on individual spot tests, as they can distort the overall condition.
Samples taken out of the collection bags or containers should be prepared properly. Thinly spread the soil on newspaper for air-drying. Do not use a heat source that alters the nutrient properties. Afterwards, the sample should be stored in the shipping containers with paper bags designated with the name of the locations. Ship early in the week with samples arriving freshly in the lab.
Read the full article: Garden Soil Testing: Everything You Need to Know